
How to use TinyPilot with Syncro
This article explains how to use TinyPilot with Syncro, a remote monitoring and management platform (RMM) used by many MSPs. Syncro gives you a secure way into a customer’s network. Once you’re on that network, TinyPilot provides browser-based, hardware-level access to their servers and serial devices.
Note: Don’t install the Syncro agent on your TinyPilot device. Instead, add your TinyPilot device as an asset in Syncro and use a Syncro-managed workstation (a "jump box") to reach the TinyPilot interface.
Pre-requisites
- A TinyPilot device
- A Syncro account
- A workstation on the customer’s network with the Syncro agent installed
Set up a new TinyPilot asset type in Syncro
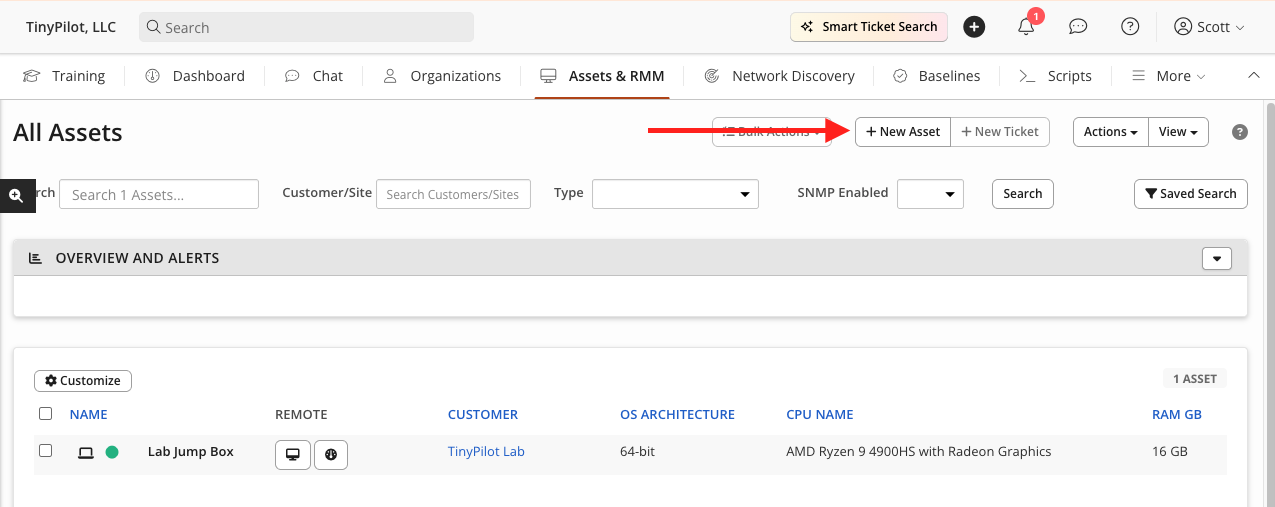
Click to add a New Asset in your Syncro dashboard.
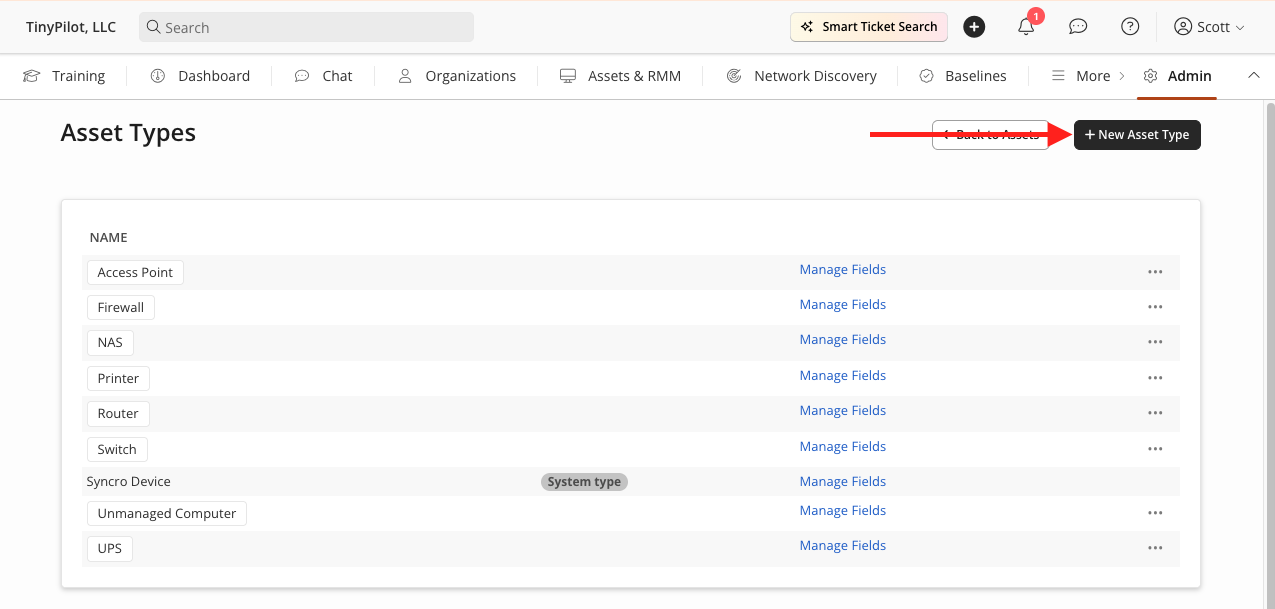
Select Modify Asset Types to create a TinyPilot asset type.

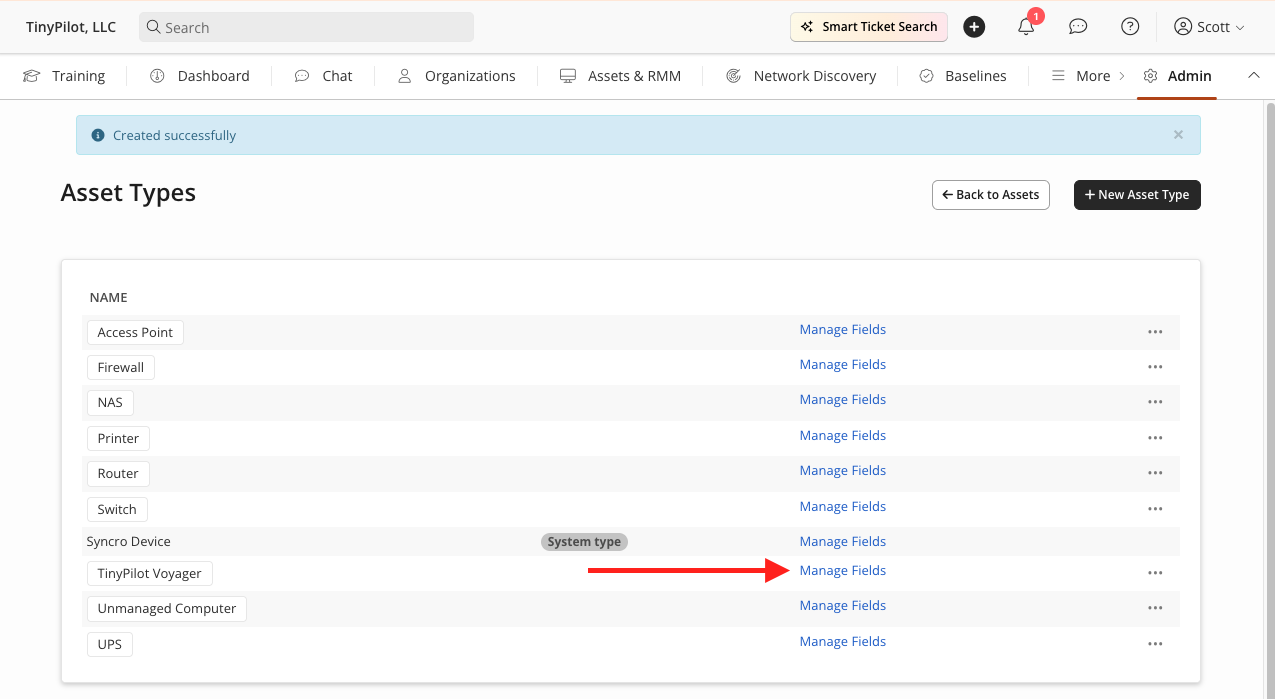
Add a New Asset Type and name it "TinyPilot Voyager".
Manage the fields of your new TinyPilot Voyager Asset Type.
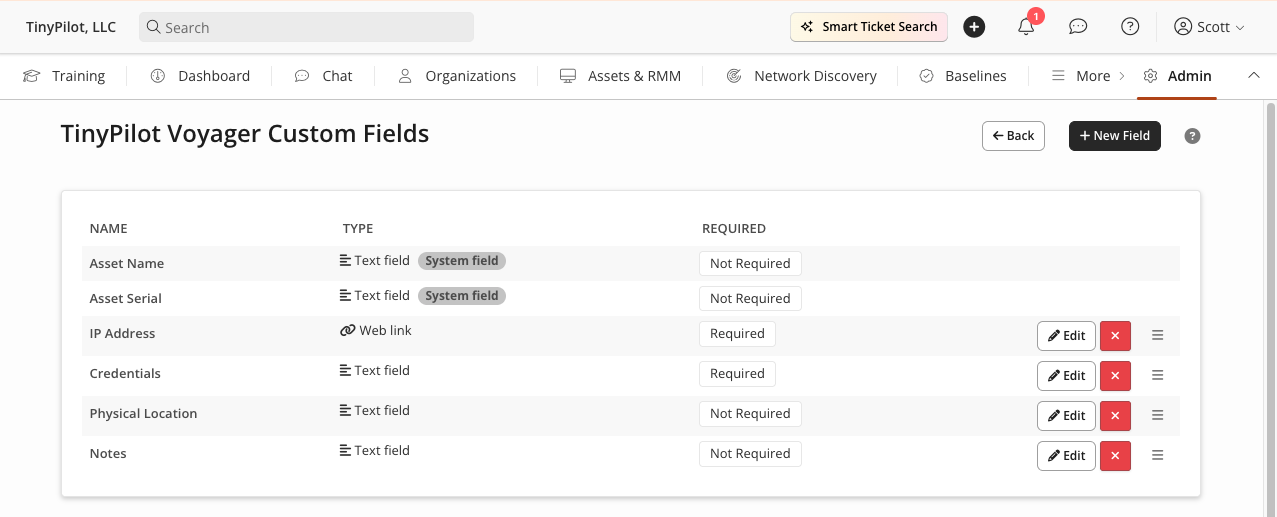
Add fields for "IP Address," "Credentials," "Physical Location," and "Notes."
These fields help technicians quickly locate and access TinyPilot devices across customer deployments.
Add a TinyPilot Voyager asset in Syncro
Click to add a New Asset in your Syncro dashboard.
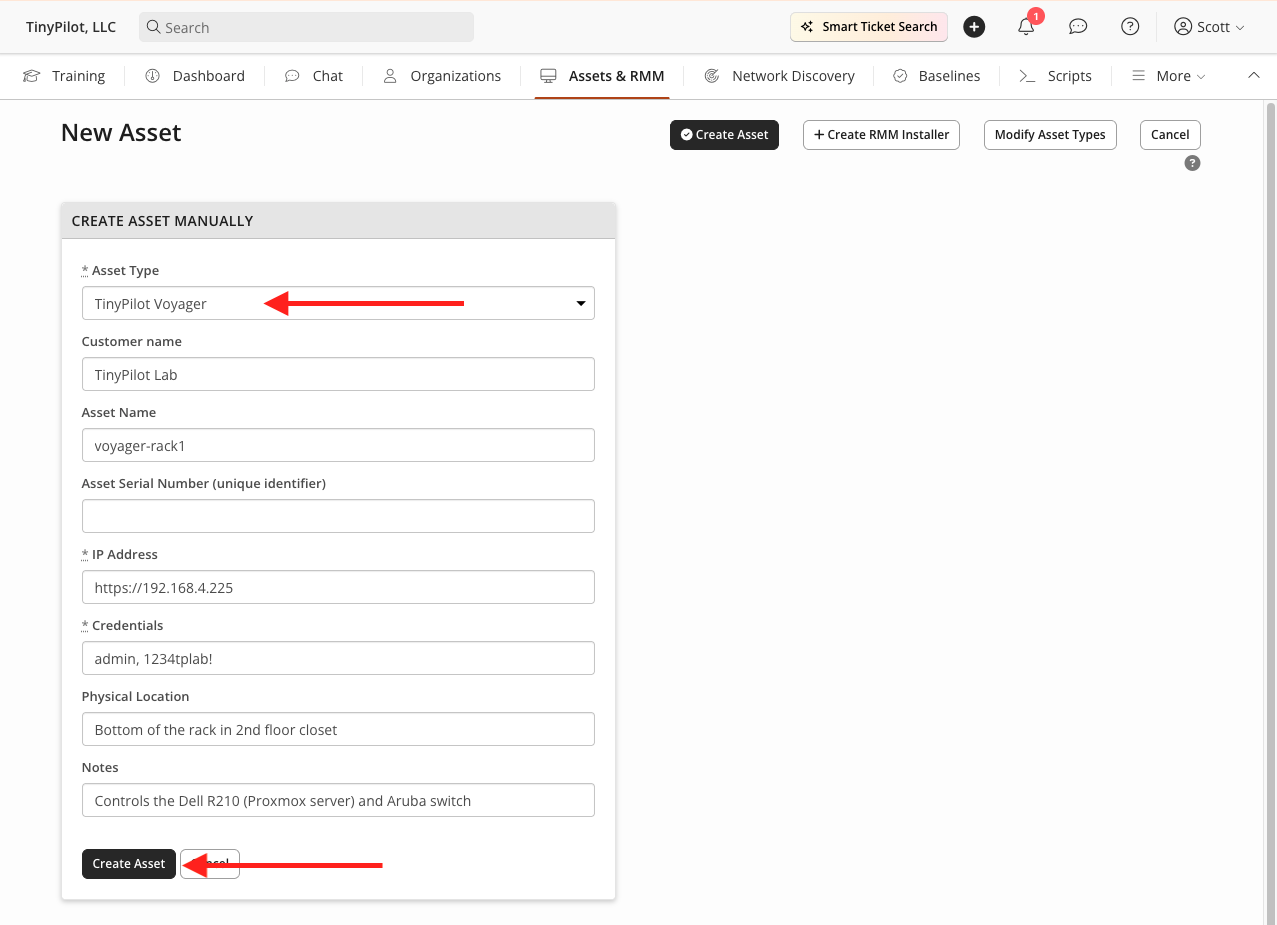
Select Create Asset Manually.

Choose Asset Type "TinyPilot Voyager," fill in the details for your TinyPilot device, and click Create Asset.
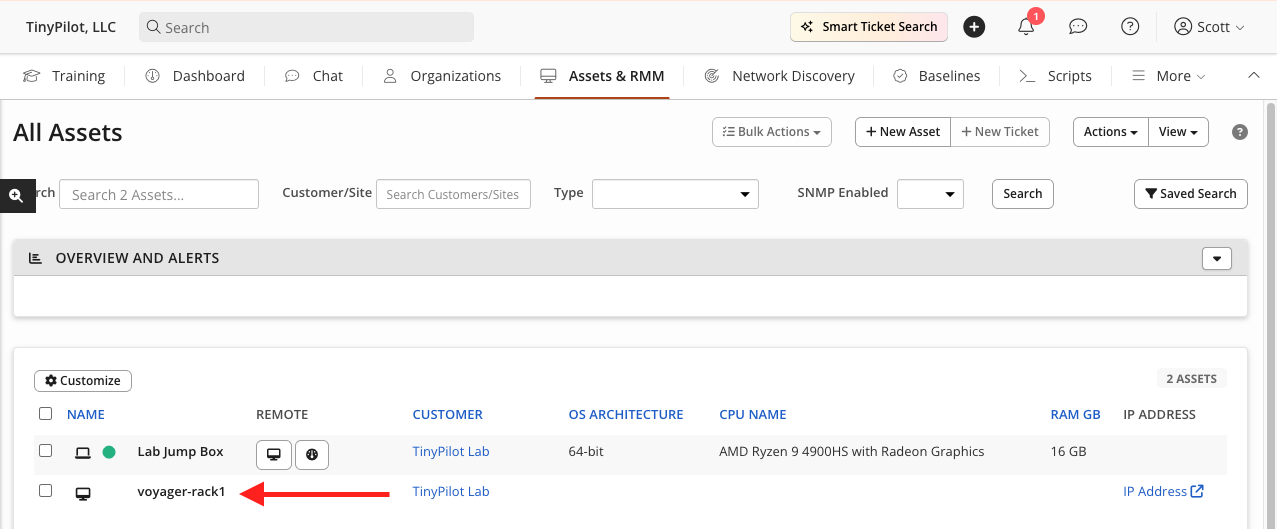
Your TinyPilot device should now appear in your Syncro dashboard.
Access TinyPilot using Syncro
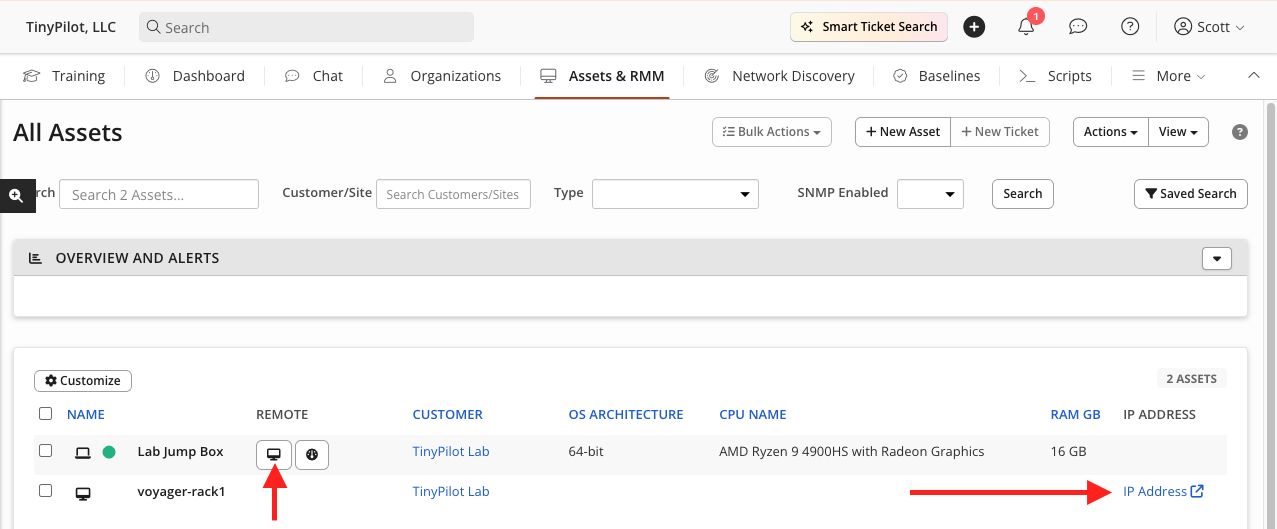
Copy the IP address associated with the TinyPilot device you just created and launch a remote session into your "jump box" using Syncro's built-in Remote Access tool.
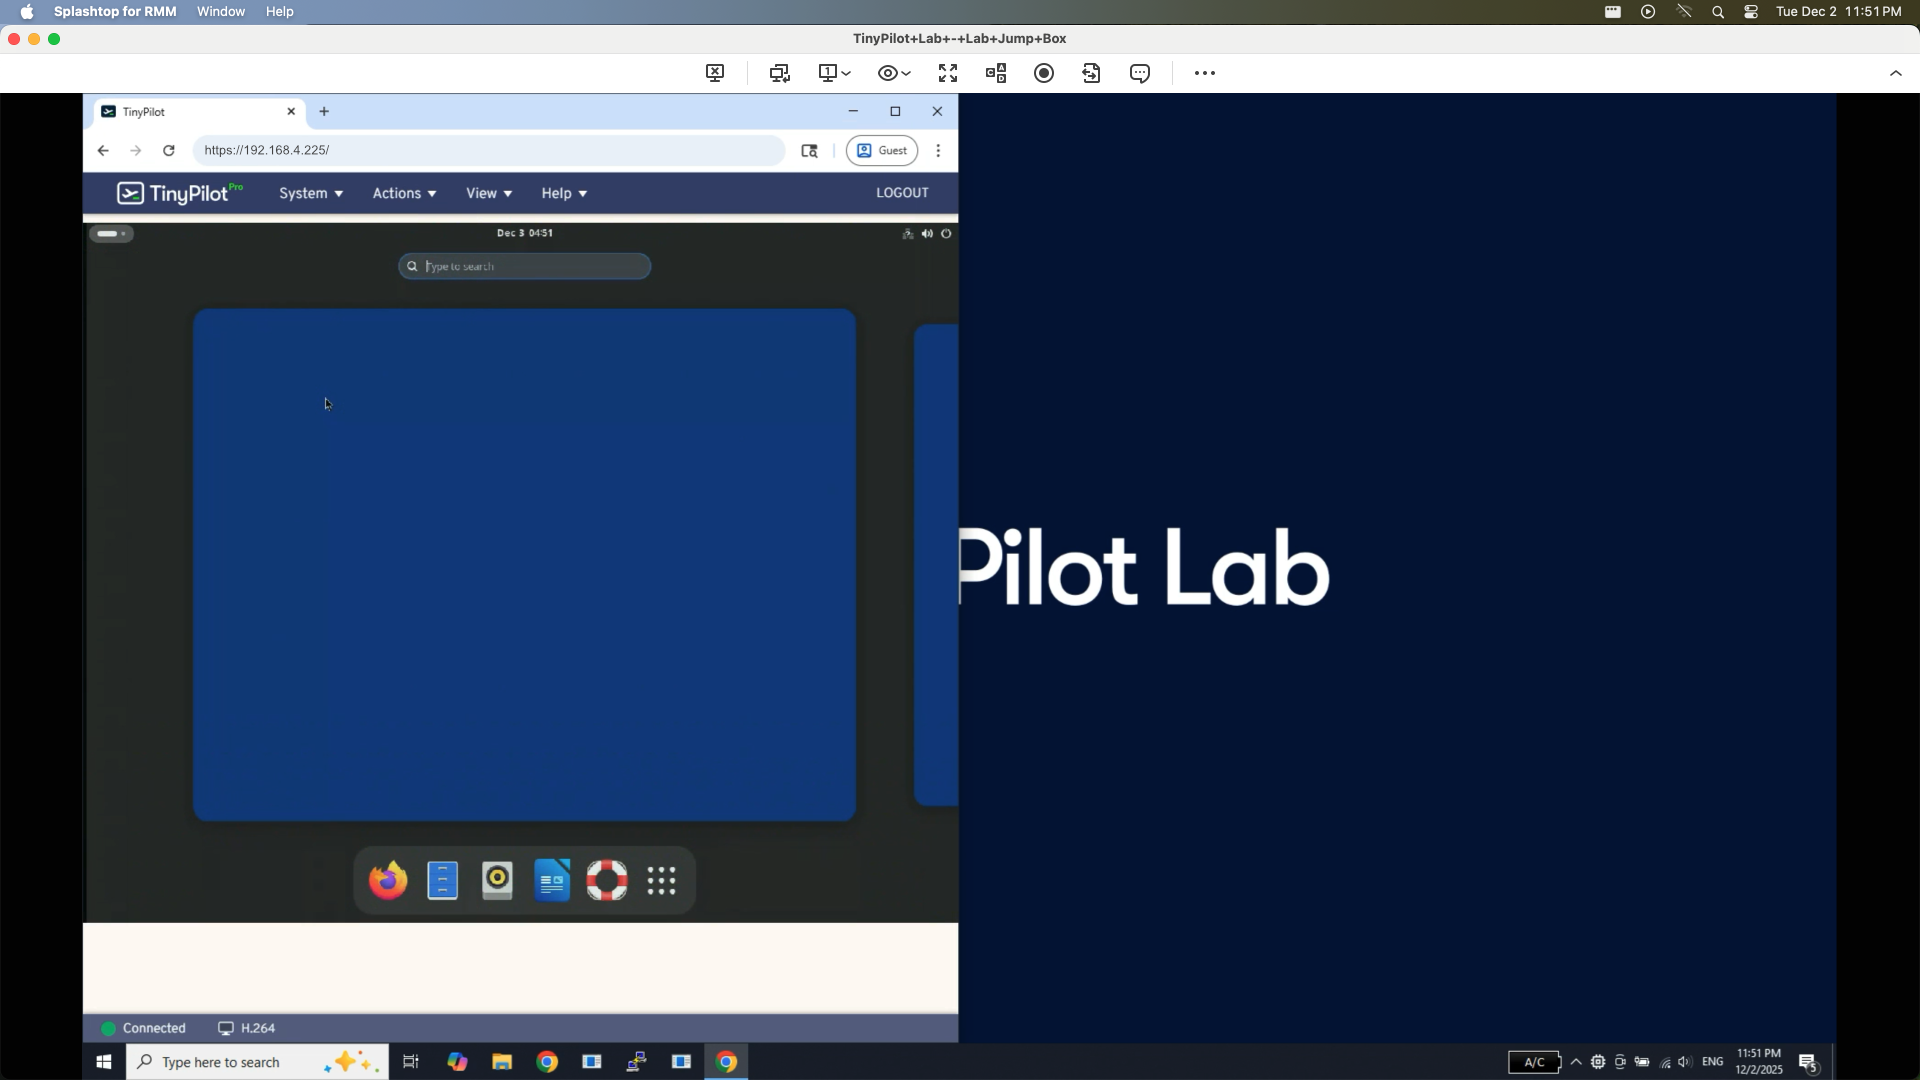
Open a browser on your "jump box" and paste the TinyPilot IP address into the address bar, hit go.
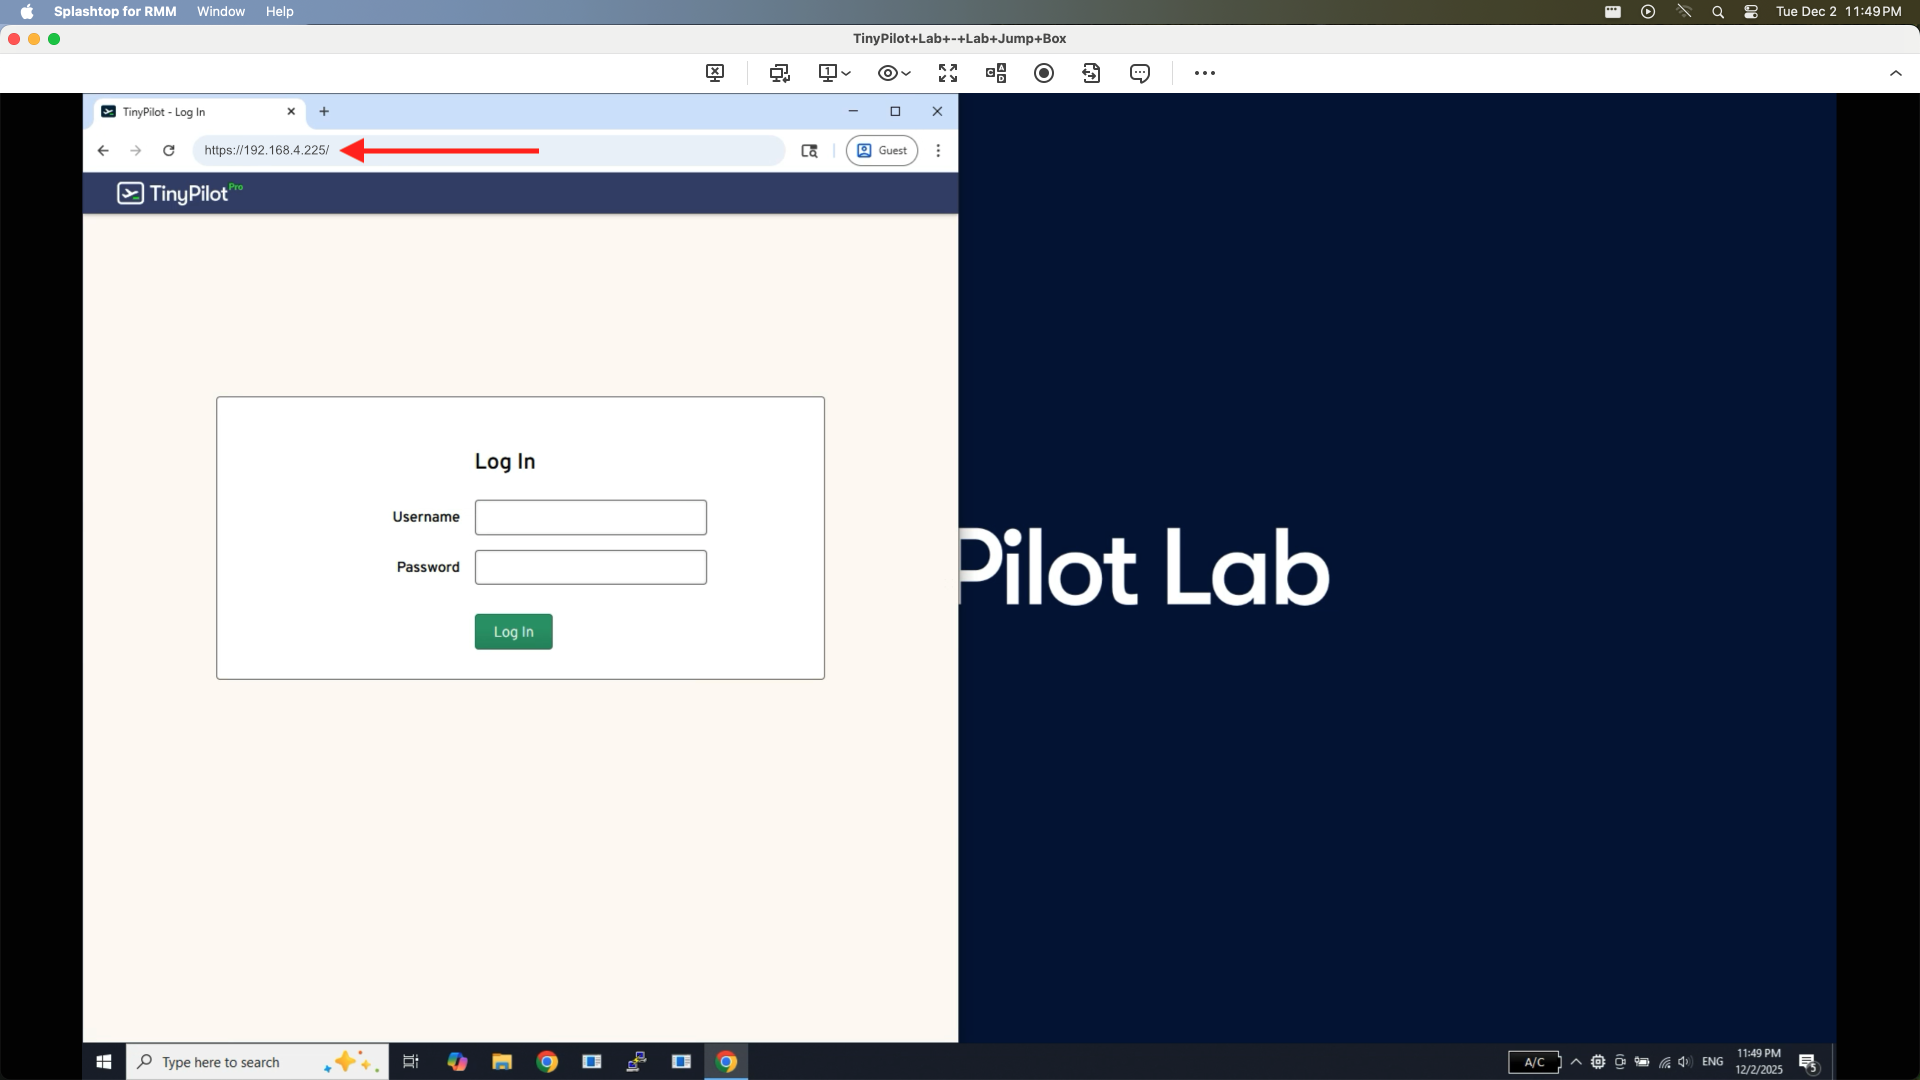
After logging in, you can control the target systems connected to the TinyPilot device.
Tuning performance
When using your TinyPilot over the internet with Syncro, you will likely see longer delays before your target machine registers your mouse or keyboard input.
For more information about tuning performance, see the FAQ article, "How can I reduce TinyPilot's latency?"