
How do I control a serial device with TinyPilot?
Note: This feature requires TinyPilot Pro version 3.0.0 or later.
TinyPilot's Serial Console feature allows you to connect to your serial devices from TinyPilot's web interface and control them using a console window.
Pre-requisites
- A target serial device
- A USB-A-to-serial adapter for your target serial device
Connecting your serial target to TinyPilot
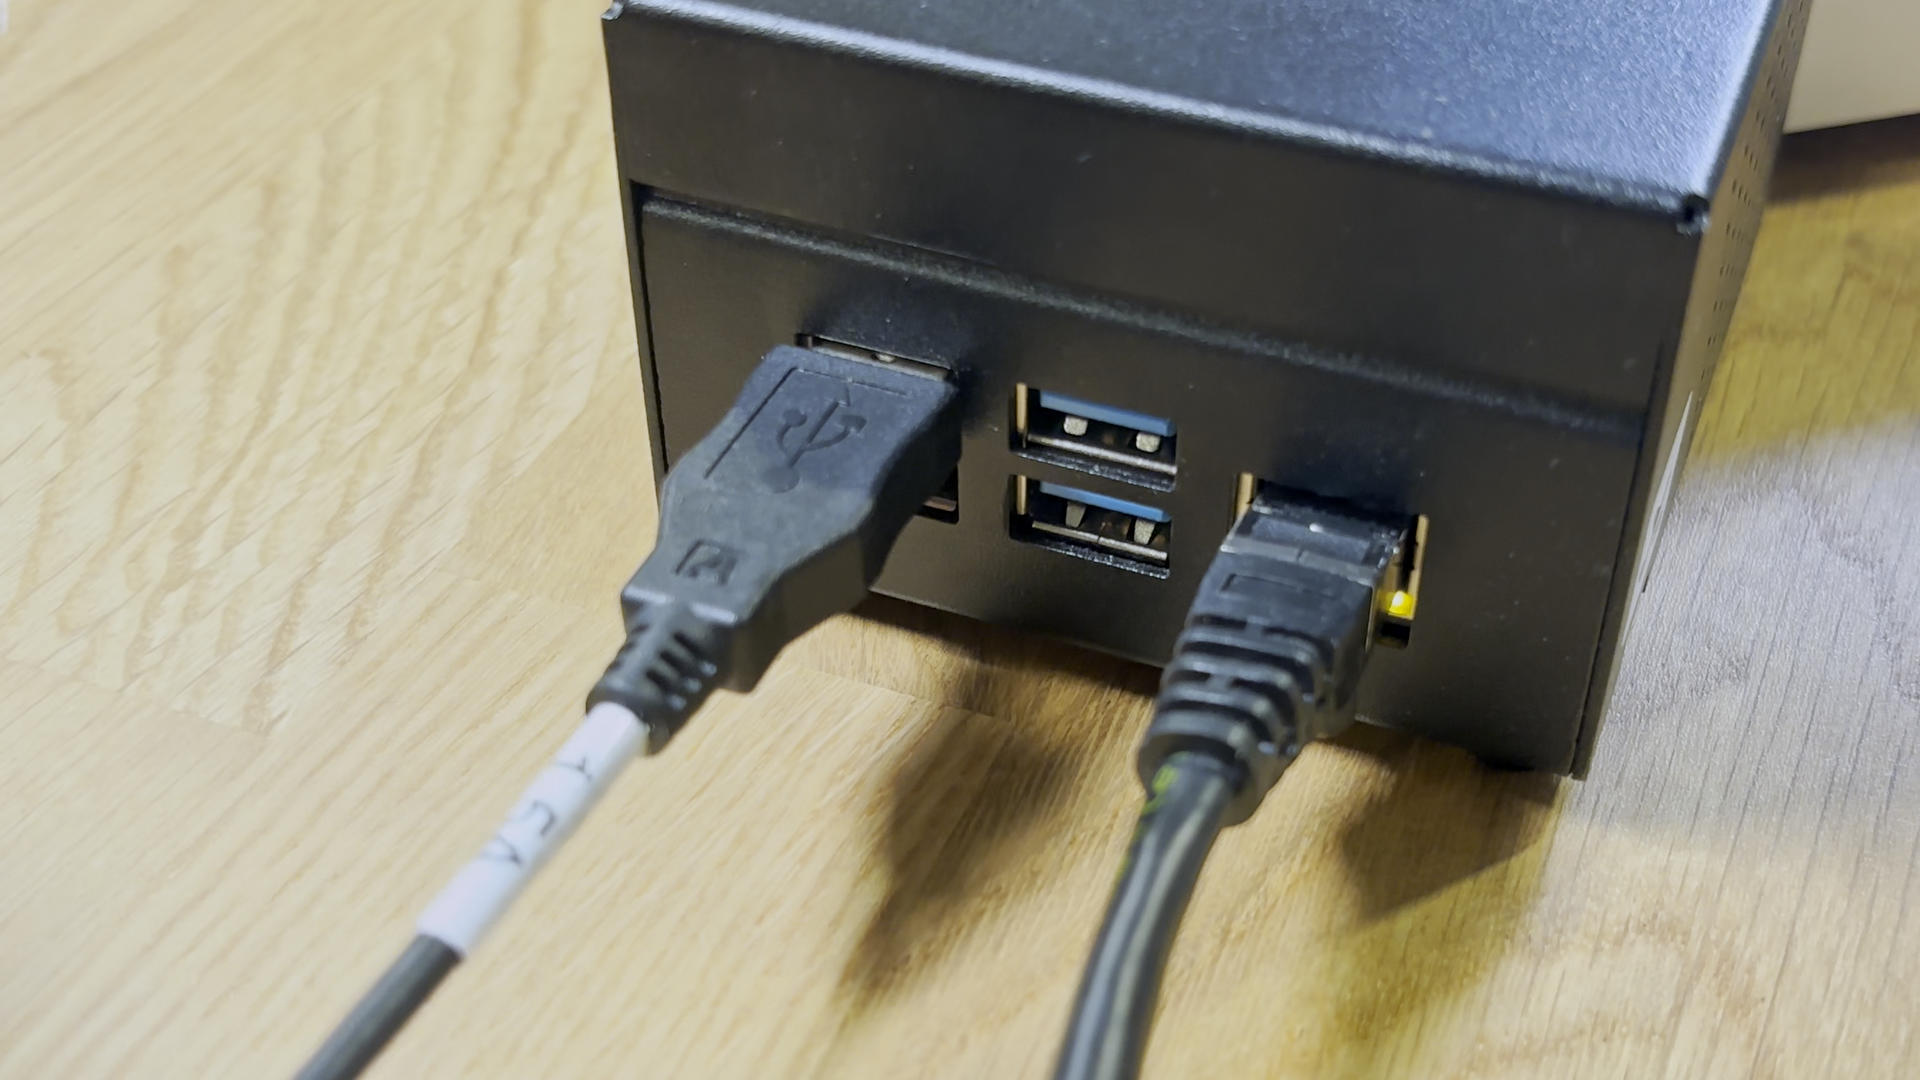
Connect your USB-A-to-serial adapter to any of the USB-A ports on the rear of your TinyPilot device.
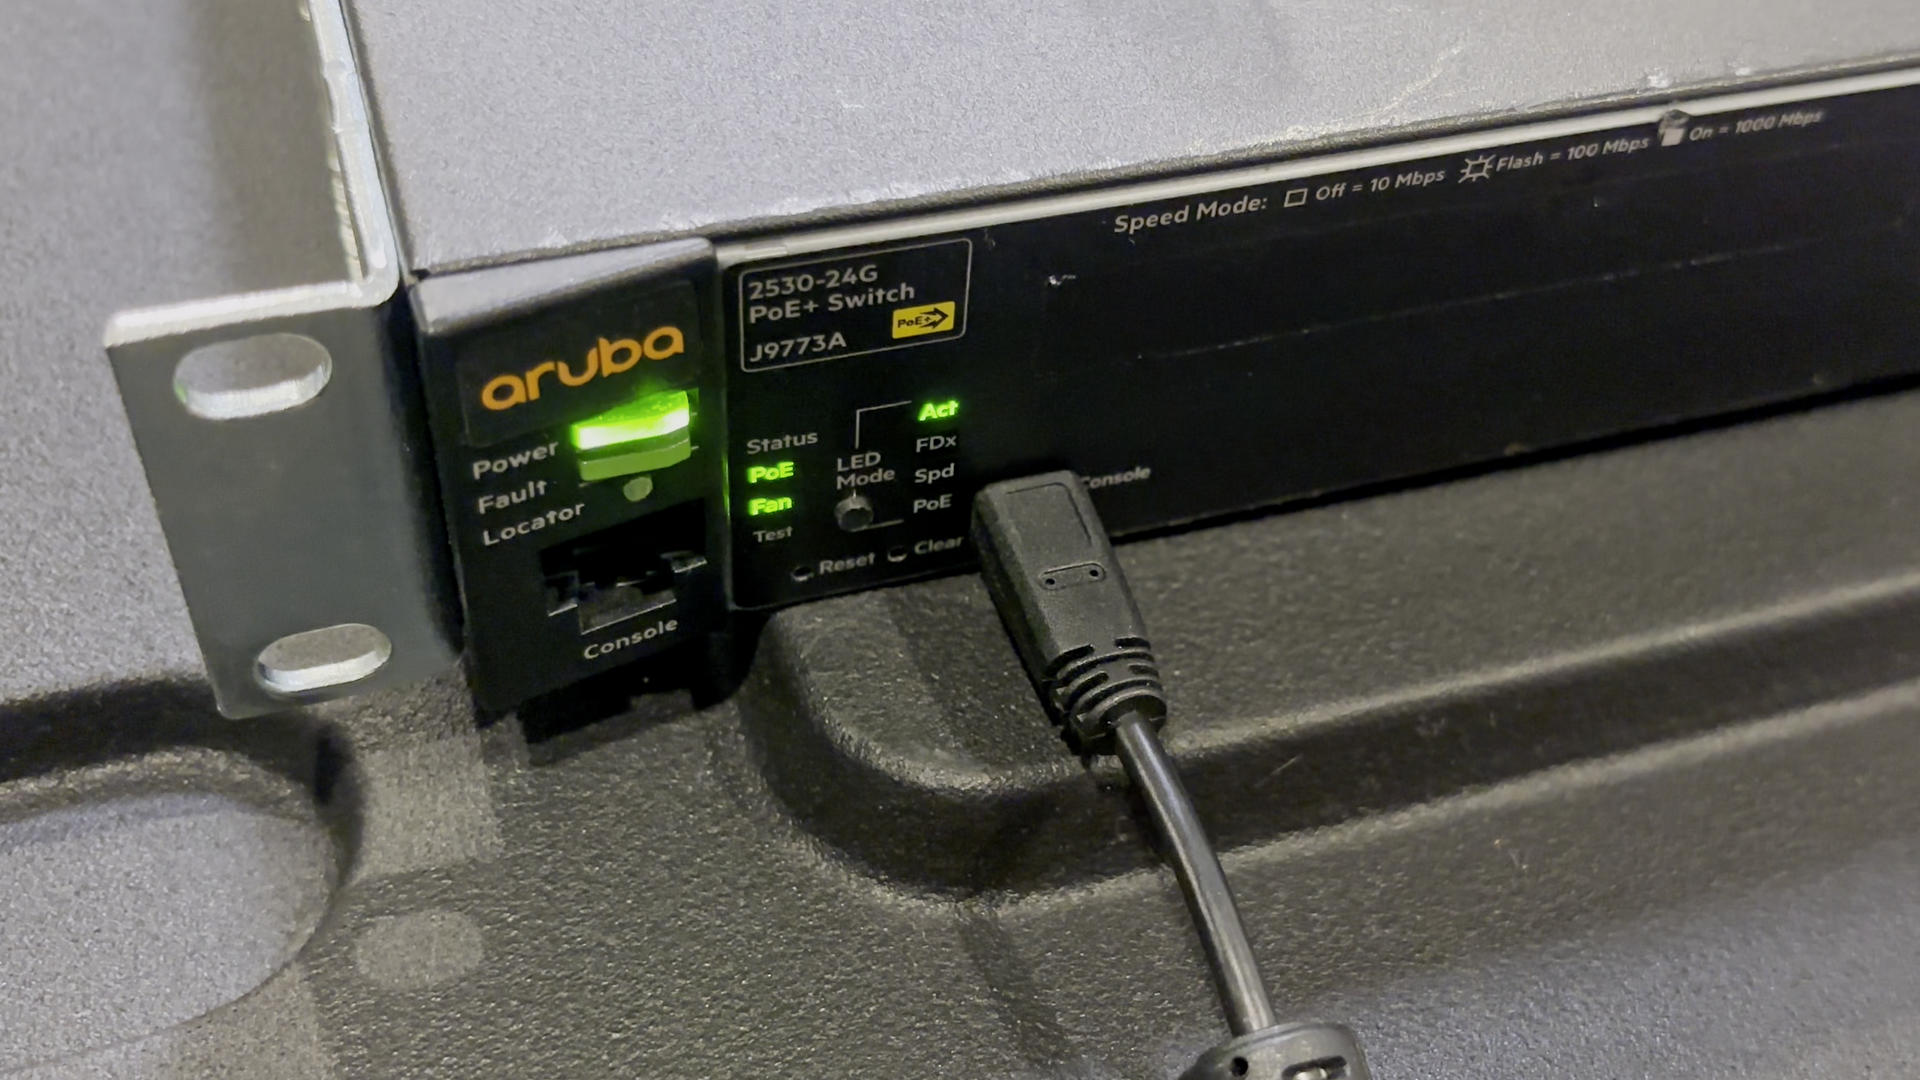
Connect the other end of the USB-A-to-serial adapter to your serial device's Console port.
Opening a serial console
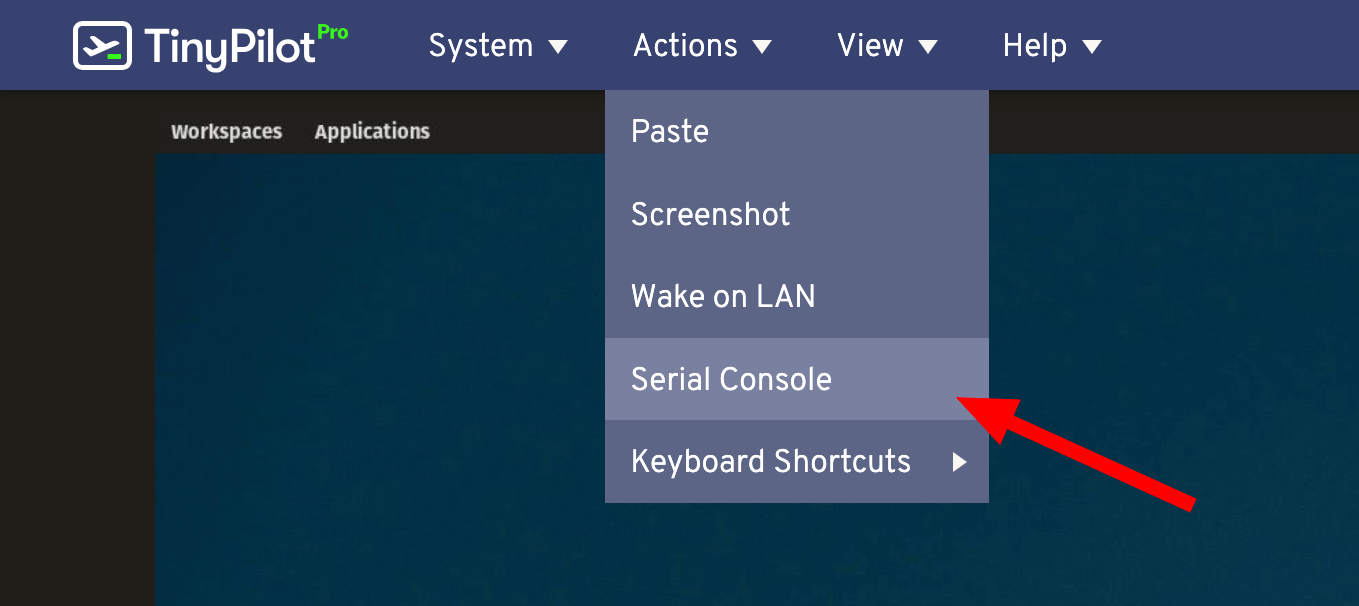
On TinyPilot's web interface, navigate to Actions > Serial Console.
In the Serial Console dialog, select your serial device from the dropdown.
Note: Most USB-to-Serial adapters appear as "USB to Serial Adapter" or similar, rather than the target device's identifier.
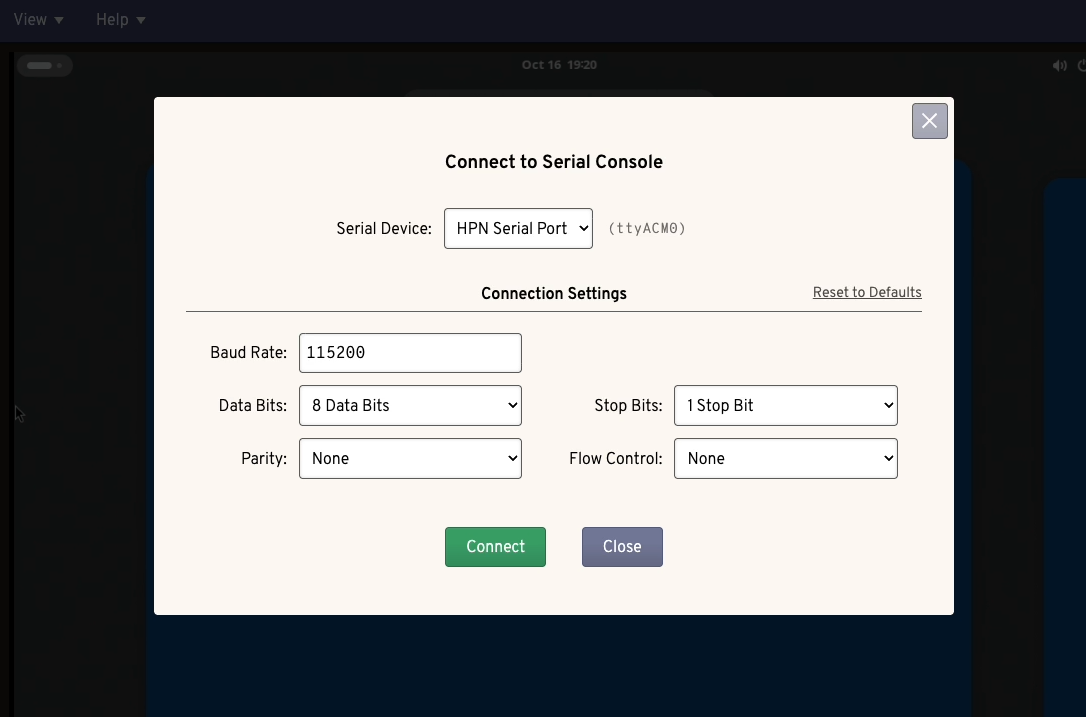
Set the Baud Rate, Data Bits, Parity, Stop Bits, and Flow Control settings according to your target serial device's specifications. Click the "Connect" button to open a new browser popup window with a console.

You now have a serial connection to your target serial device and you can run commands to manage and control your target.
To close the connection to your target serial device, close the popup browser window. TinyPilot will remember your connection settings for next time.
Troubleshooting
If the Serial Console dialog shows a "No Serial Devices available" message, TinyPilot hasn't detected any serial devices. Check your connection to TinyPilot's USB-A port and your serial device and click "Refresh" to search for serial devices.

Still having issues?
Contact us with the following details:
- Make and model of your target serial device
- Model of your TinyPilot
- A log URL from your TinyPilot
- On the TinyPilot web interface, go to System > Logs, then click Get Shareable URL